A DIYers guide to fixing a small hole in plasterboard
New Year, New Look
A DIYers guide to fixing a small hole in plasterboard
The increased time we're spending in our homes has naturally resulted in more wear-and-tear on our interiors with walls suffering from everyday household living.
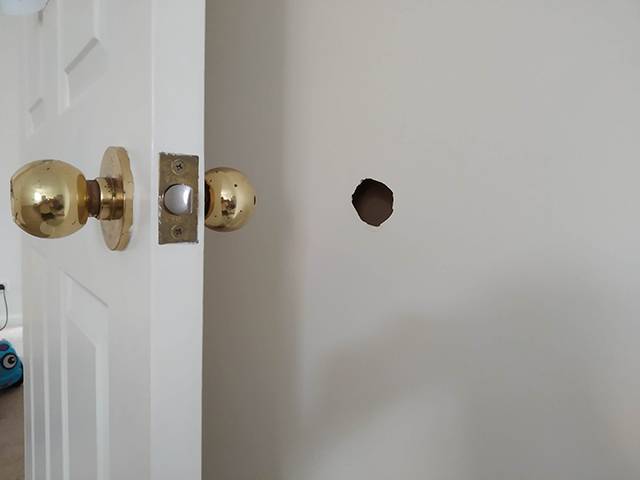
A ding here, an accidental dent there, decisions to move artwork around, or change up the look of a room can make walls look tired and worn out. A recent survey conducted by plasterboard experts, CSR Gyprock revealed that the majority of homeowners who were upgrading or renovating their home had holes in their walls due to DIY drama (21%), mini renovations (37%), design decision changes (14%), as well as kids being kids (12%). The most common rooms for holes in walls included, in the living/dining room (35%), bedroom (27%) followed by hallways (18%).
While staying on top of home maintenance sounds daunting, it's easy to repair minor damage yourself and patching holes can be a quick and simple way to re-fresh your home. CSR Gyprock share five easy steps to repair holes in your walls and ceilings.
- Ensure the hole is clean
Before you begin to patch the hole in your wall or ceiling it's important to ensure that you've cleaned the area of any debris that may be sitting inside or hanging from the hole. This can be simply done by using a cloth or soft brush. This will make sure that once patched the wall will have a clean and polished finish.
- 2. Fill the hole with compound
To begin patching the hole, simply pour the plaster into a bucket or tub and add water until you get a thick and creamy consistency. Gyprock has a wide range of DIY home repair products available, such as the Less Mess Compound range.
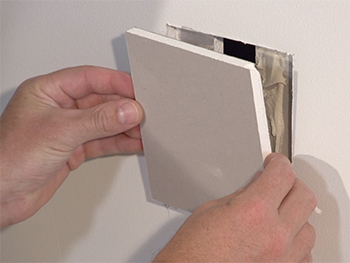 3. Taping the dry compound
 Once the compound has dried, lightly sand around the edges of the patched hole if necessary. An important step in repairing holes is to apply one or two strips of tape to cover the hole. Ensure that the tape is placed on the wall or ceiling securely and that the tape is approximately double the size of the hole. For larger holes, use plasterboard pieces included in the kit. Applying tape acts as a strengthening barrier and prevents cracking in the patch.
- 4. Apply more compound
Apply two coats of compound over the tape, allowing it to dry between coats, approximately 20 minutes. Again, simply use a broad knife to swipe across the hole, making sure that the tape and hole are well covered with each layer. In order to have less difficulties when sanding later, try to apply the compound as smoothly as possible.
- 5. Sand and finish
Once you have finished patching and the compound is dry, the final step is to lightly sand the area and prepare it for painting. Make sure you are wearing the correct safety gear and merely sand the patched area to remove any bubbles and smooth the surface. After the area has been sanded, clean the area from any sand or dust created during polishing to prepare the patch for painting. Once clean, simply paint the area with the paint of choice.
For more information or to purchase Gyprocks full DIY range, please visit Bunnings Warehouse nationally or bunnings.com.au
About CSR Gyprock
As Australia's leading manufacturer of plasterboard products since 1947, Gyprock understands the foundations of your dream home are built for living. From decorative ceiling panels and cornices, to their extensive range of standard to premium innovative plasterboard range, Gyprock's products are designed and built to have a lasting impact on the comfort and performance of every room in a home. For more information please visit, gyprockliving.com.au


MORE